How To Fix A Leaky Outdoor Faucet
A leaky outdoor faucet may not seem like a big deal. The problem is outside, and the spigot gets wet anyway, so what’s the harm? Although a leaky faucet may not damage your property, it does waste a lot of water. Also, a slow leaky faucet may not always stay that way. It could become a bigger leak that may potentially ruin plants nearby. Here is how to fix a leaky outdoor faucet and save water.
Tools and Materials Required
Almost all of the fixes for a leaky outdoor faucet can be done with a screwdriver, wrench, and pliers. You will need to use these tools to varying degrees, depending on which fix works for you. The materials you need will depend on where the leak is originating from, so locating the cause is very important. Try these fixes below, starting with the first and moving to the next if it doesn’t work. They will start with the easiest and most straightforward repairs and move to more intense fixes that require additional parts.
Tightening the Nut
This is the easiest fix and is a very common cause of faucet leaks. If you remove the handle on the spigot, there is a retaining nut behind it. Use the wrench to tighten this nut and see if that fixes the leak. However, it is important not to tighten it too much because this could break the nut, and then you will need to replace that as well. It shouldn’t take a lot of pressure to tighten the nut. If the nut is flush against the spigot and the leak still persists, then you can move on to the next fix. If the nut is visibly cracked, replace it first to see if that is the source of the problem.
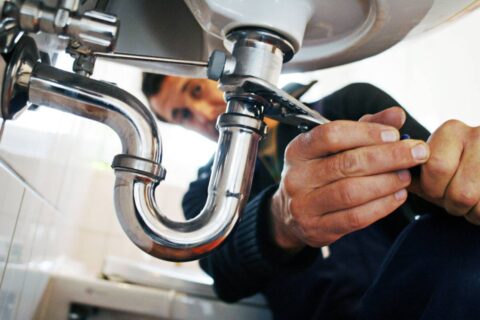
Replacing the Washer Assembly
The second most common problem is that the washer at the end of the faucet stem needs replaced. To do this, you will first need to shut off the water, so be sure to do that before you attempt to remove the faucet stem. Remove the handle and loosen the nut so that you can easily remove the faucet stem using the handle to pull it out. These stems can be up to 12 inches long, depending on your faucet. The washer that needs to be replaced will be at the end of the stem and will need to be removed using a screwdriver. Reinstall a new washer, replace the stem and handle, and test to see if this fixed the leak.
Vacuum Breaker
Outdoor faucets will typically also have a vacuum breaker on top of the faucet. There’s a cap that covers the vacuum breaker, so the first step is to remove the cap. You might need to use your screwdriver to pop it off. Underneath the cap is the actual breaker. First, remove the breaker parts and wash them. Sometimes, they don’t work efficiently if they get dirty, so cleaning the parts could fix the problem. Once you clean the parts, replace them, and test the leak. If cleaning the parts doesn’t work, then replace the vacuum breaker with new ones.
Replacing the Faucet
If all these fixes do not work to fix a leaky outdoor faucet, it may mean that you need to replace the faucet. Be sure that you get the right one for your spigot and shut off the water again before replacing it. This should fix the leak because you are replacing all the potential parts that could be causing it. If you need some help, or if you have any questions while trying to fix your leaky faucet, don’t hesitate to call the professionals at New Generation Plumbing!
A well-functioning plumbing system is of utmost importance when it comes to ensuring that your home is functional and comfortable. However,…

A lot of people make the core mistake of assuming that plumbing is just pipes and water. As a result, tons of DIY-ers get themselves into heaps of…